TOPCOAT TPU 60 Tape


| Quantity | Unit price | Base price |
|---|---|---|
| To 2 |
€234.00
|
€23.40 / 1 RL |
| To 4 |
€222.85
|
€22.29 / 1 RL |
| From 5 |
€212.20
|
€21.22 / 1 RL |
- TPU coated
- Open to diffusion
- Weldable

25 m X 60 mm
10 Rolls
Available variants
- TPU coated
- Open to diffusion
- Weldable
Product advantages
Weldable
Seamless sealing

High adhesive strength
Firm hold
.png)
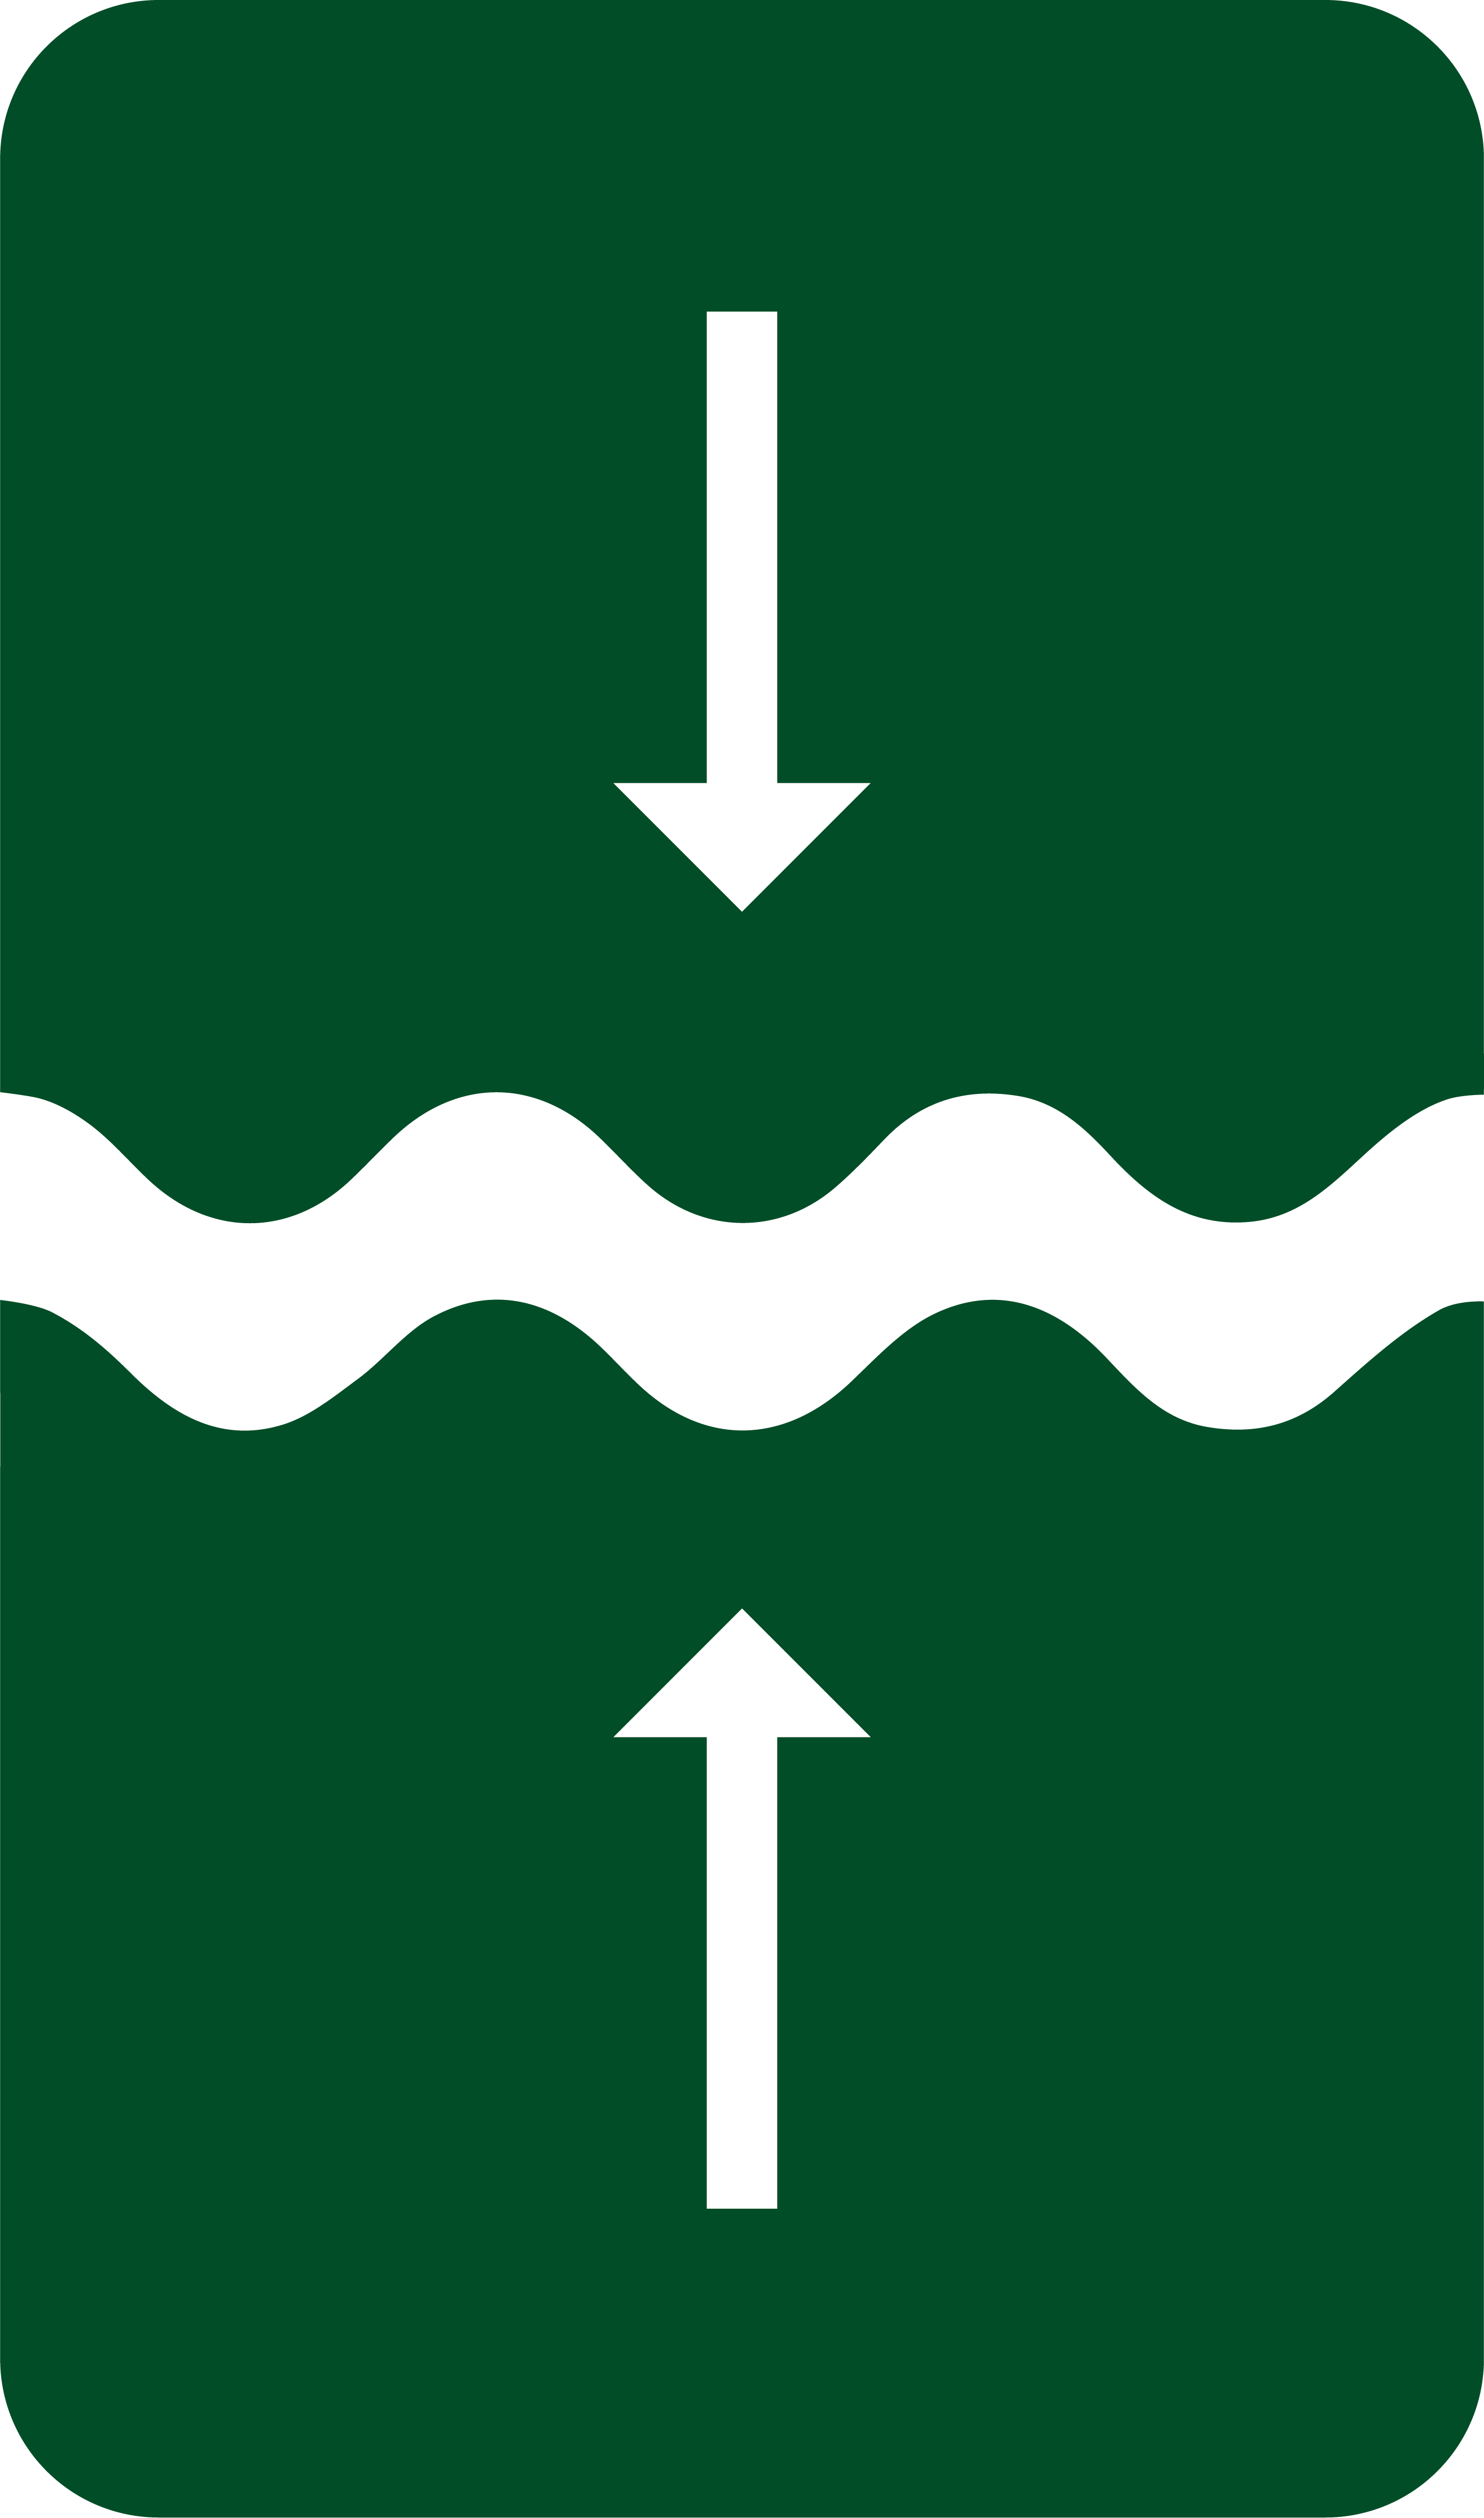
Open to diffusion
Breathable
WELDABLE AND OPEN TO DIFFUSION
The ALMO TOPCOAT TPU adhesive tape is specially developed to be weldable and permeable, ideal for airtight and watertight seals.
HIGH ADHESIVE STRENGTH
With 230 g/m² dispersion acrylate, our TPU adhesive tape offers extremely high adhesive strength that adheres reliably to both smooth and rough surfaces.
TEMPERATURE RESISTANT
The adhesive tape can withstand extreme temperatures, from -40°C to +100°C, and always remains flexible and efficient.
ROBUST CARRIER SYSTEM
Made from grid-reinforced TPU CoEx film, our adhesive tape guarantees a long service life and high resistance to mechanical stress.
Technical Data
| Features | Weldable, open to diffusion |
|---|---|
| Adhesive | Modified dispersion acrylate |
| Coverage | Silicone paper |
| Functional layer | Polyurethane (TPU) coating |
| Roll length | 25m |
| Width | 60mm |
| UV resistance | 12 months |
| Temperature resistance | -40 °C to +100 °C |
| Processing temperature | -5 °C to +40 °C |

| Characteristics: | Heat-sealable, Diffusion open |
|---|---|
| Adhesive: | Modified dispersion acrylate |
| Cover: | Silicone paper |
| Functional layer: | Polyurethane (TPU) coating |
| Roll length: | 25m |
| Width: | 60mm |
| UV-resistance: | 12 months |
| Temperature resistance: | -40 °C to +100 °C |
| Processing temperature: | -5 °C to +40 °C |
Use for this
Use with

- Nail-tight
- Highly diffusible
- TPU coating
Product advantages

Nail-tight
Penetration protection
.png)
UV-resistant
Long-term protection
.png)
Temperature resistant
Withstands extreme conditions
UV-RESISTANT & DURABLE
With a UV resistance of up to 3 months and a robust polyurethane (TPU) coating, our underlayment offers long-lasting protection and durability.
NAIL-TIGHT & RESISTANT TO DRIVING RAIN
The TOPCOAT TPU 240 underlay offers high nail tightness and is resistant to driving rain to ensure maximum protection in all weather conditions.
HIGHLY DIFFUSIBLE
The sd value of 0.15 m guarantees effective moisture regulation and prevents condensation, thereby preventing mold growth.
TEMPERATURE RESISTANCE
Withstands extreme temperatures from -40°C to +100°C while remaining flexible and functional.
TIME SAVING
The integrated self-adhesive seam saves time during installation and ensures quick and secure installation, even with overlaps and connections.
Technical Data
| Application | Underlayment |
|---|---|
| Features | Self-adhesive seam, nail-tight |
| Carrier system | Polyester fleece |
| Functional layer | Polyurethane (TPU) coating |
| Grammage | 240 g/m² |
| Roll dimensions | 40m x 1,5m |
| Diffusion-equivalent air layer thickness (sd value) | 0,15m |
| Maximum tensile force longitudinal / transverse in N / 50mm | 350/310 |
| Roof pitch | 10° |
| m² per roll | 60 |
| Suitability as temporary covering | 12 Weeks |
| UV resistance | 3 months |
| Temperature resistance | -40 °C to +100 °C |
| Fire classification | Class E (according to EN 13501-1) |
| Resistance to water passage | W1 (according to DIN 1928) |


TOPCOAT TPU roofing membrane installation instructions

.jpg)
.jpg)


.jpg)
Content: 60 m² (€2.91 / 1 m²)
Reviews
Login
10 November 2023
tiptop
Kannte sowas von SIKA und habe das hier ausprobiert. Viel günstiger und funktioniert genauso. Die Oberfläche lässt sich sehr gut erhitzen und dann verschweissen mit der TPU Bahn.
Use with
- Nail-tight
- Highly diffusible
- TPU coating
Product advantages
Nail-tight
Penetration protection
UV-resistant
Long-term protection
Temperature resistant
Withstands extreme conditions
UV-RESISTANT & DURABLE
With a UV resistance of up to 3 months and a robust polyurethane (TPU) coating, our underlayment offers long-lasting protection and durability.
NAIL-TIGHT & RESISTANT TO DRIVING RAIN
The TOPCOAT TPU 240 underlay offers high nail tightness and is resistant to driving rain to ensure maximum protection in all weather conditions.
HIGHLY DIFFUSIBLE
The sd value of 0.15 m guarantees effective moisture regulation and prevents condensation, thereby preventing mold growth.
TEMPERATURE RESISTANCE
Withstands extreme temperatures from -40°C to +100°C while remaining flexible and functional.
TIME SAVING
The integrated self-adhesive seam saves time during installation and ensures quick and secure installation, even with overlaps and connections.
Technical Data
| Application | Underlayment |
|---|---|
| Features | Self-adhesive seam, nail-tight |
| Carrier system | Polyester fleece |
| Functional layer | Polyurethane (TPU) coating |
| Grammage | 240 g/m² |
| Roll dimensions | 40m x 1,5m |
| Diffusion-equivalent air layer thickness (sd value) | 0,15m |
| Maximum tensile force longitudinal / transverse in N / 50mm | 350/310 |
| Roof pitch | 10° |
| m² per roll | 60 |
| Suitability as temporary covering | 12 Weeks |
| UV resistance | 3 months |
| Temperature resistance | -40 °C to +100 °C |
| Fire classification | Class E (according to EN 13501-1) |
| Resistance to water passage | W1 (according to DIN 1928) |
TOPCOAT TPU roofing membrane installation instructions
Content: 60 m² (€2.91 / 1 m²)